How to Check if a Solenoid Valve is Working
Introduction
Solenoid valves are essential components in many systems that control the flow of liquids or gases. They work by using an electric current to create a magnetic field, which moves a plunger to either open or close the valve. However, solenoid valves can sometimes fail due to electrical issues or mechanical wear, and knowing how to check if a solenoid valve is working is crucial for maintaining the efficiency of your systems. This guide provides a step-by-step approach to testing solenoid valves using tools like a multimeter, while also giving insights on common issues that might occur.
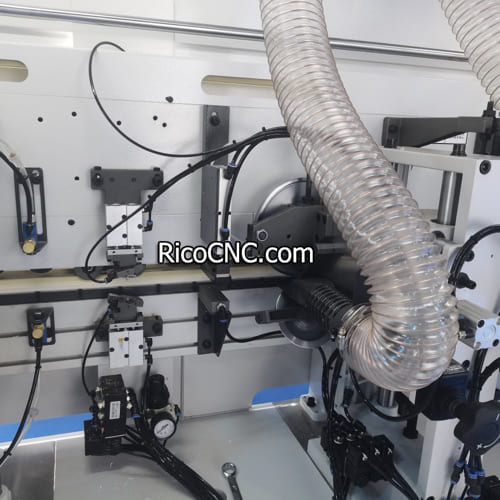
1. Understanding the Basics of a Solenoid Valve
Before testing a solenoid valve, it's important to understand how it works. A solenoid valve has two main parts: the solenoid coil, which is an electromagnet, and the valve itself, which is mechanically opened or closed by the solenoid. When current flows through the solenoid coil, a magnetic field is generated, causing a plunger to move and control the flow of media.
Solenoid Coil: Converts electrical energy into mechanical motion.
Valve Mechanism: Regulates the flow based on the plunger’s movement.
Common Applications:
Automotive Systems: Fuel and emission controls.
HVAC Systems: Regulating air or coolant flow.
Industrial Automation: Controlling hydraulic or pneumatic systems.
To get a better understanding of different types of solenoid valves, take a look at Aventics Pneumatic Directional Valve.
2. Symptoms of a Faulty Solenoid Valve
Recognizing the symptoms of a faulty solenoid valve can help in diagnosing problems early. Common issues include:
Valve Not Opening or Closing: This may indicate a problem with the solenoid coil or a mechanical jam.
Noisy Operation: A buzzing or humming sound often means the solenoid coil is receiving power but may be defective or improperly seated.
Flow Rate Issues: If the flow is restricted or inconsistent, there could be clogging in the ports or damage to internal components.
Checklist to Diagnose Problems:
Check Electrical Supply: Verify that the correct voltage is reaching the solenoid coil.
Listen for Noises: Unusual sounds can indicate internal mechanical issues.
Inspect Physically: Look for leaks, rust, or any obvious damage to the valve.
3. Safety Precautions Before Testing
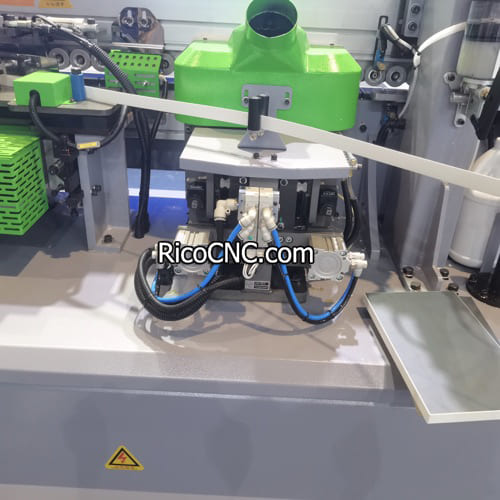
Before testing a solenoid valve, ensure that the environment is safe. Handling solenoid valves incorrectly can result in injury, especially when working with pressurized systems.
Disconnect Power: Always turn off the power supply to the solenoid valve to avoid electrical shock.
Depressurize the System: Make sure there is no residual pressure in the system before disassembling or testing the valve.
Use Personal Protective Equipment (PPE): Gloves and safety glasses are recommended to protect from unexpected fluid discharges or electrical issues.
For safe handling practices, consider the CKD 24VDC Pneumatic Solenoid Valve.
4. Testing the Solenoid Coil with a Multimeter
A multimeter is an essential tool for determining whether a solenoid coil is working properly. You can use the multimeter to measure both resistance and voltage across the coil.
Steps to Test with a Multimeter:
Set Multimeter to Ohms (Resistance Mode): Set the multimeter to measure resistance (Ω).
Measure Coil Resistance: Place the probes on the terminals of the solenoid coil. A typical working coil will have a resistance between 20 to 60 ohms, depending on the coil specifications.
Check for Continuity: If the multimeter reads infinite resistance, the coil is open and should be replaced.
Voltage Test:
Set to AC or DC (Depending on Your System): Confirm that the correct voltage is reaching the solenoid coil by setting the multimeter to measure voltage.
Test Across Terminals: Ensure that the voltage matches the rated voltage of the coil. A discrepancy can indicate a problem with the power supply.
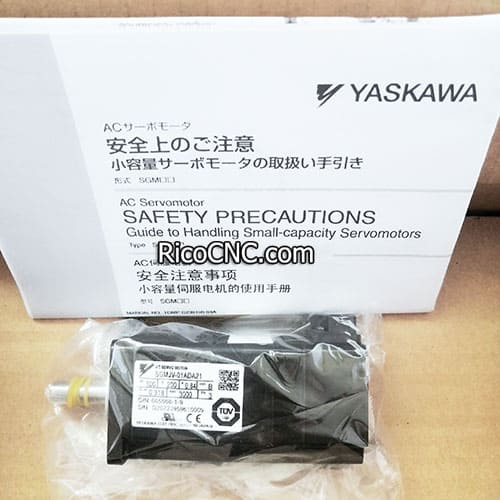
For replacement options, explore the YASKAWA AC Rotary Servo Motors, which might be used for similar automation purposes.
5. Mechanical Testing of the Valve
If the solenoid coil is functional, but the valve is still not working, a mechanical issue might be at fault. The following steps can help determine if the valve mechanism is functioning correctly.
Manual Override Test: Many solenoid valves have a manual override that allows you to actuate the valve without electricity. This helps determine if the problem is with the coil or the valve mechanism itself.
Inspect the Plunger: Disassemble the valve to inspect the plunger. Look for corrosion or any dirt that may be preventing movement.
Check O-Rings and Seals: Ensure that the O-rings are intact. Damaged seals can cause leaks and prevent proper operation.
If you are unsure about valve disassembly, reference the NOP Oil Pump Nippon Gear for components used in similar applications.
6. Testing the Power Supply
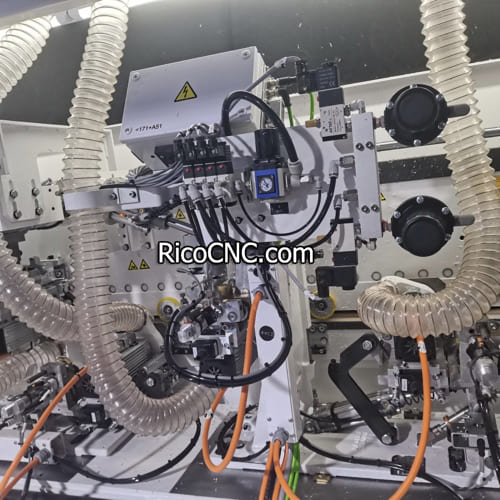
If the solenoid valve isn’t functioning properly, it could be due to issues with the power supply. Testing the power supply ensures that the correct amount of voltage is delivered to the solenoid coil.
Check Voltage Output: Use a multimeter to verify that the power supply delivers the correct voltage as indicated on the solenoid valve label.
Inspect Wiring and Connections: Loose or corroded connections can lead to intermittent issues. Tighten and replace any defective wires.
Pro Tip: Incorrect voltage can burn out the solenoid coil, leading to failure. Always ensure compatibility between the power source and the solenoid valve.
7. Reassembling and Retesting
Once you’ve identified the issue and made the necessary repairs or replacements, it’s time to reassemble the solenoid valve and test it.
Steps to Reassemble:
Reinsert the Plunger: Make sure it moves freely within its chamber.
Attach the Coil: Slide the solenoid coil back onto the valve body and secure it.
Reconnect Wiring: Attach all electrical connections and ensure that they are tight.
Final Test:
Turn On the Power Supply: Check if the valve is actuating as expected.
Listen for Clicking: A functional solenoid valve will make a distinct clicking sound when activated.
Check for Leaks: Inspect all seals and connections for any sign of leakage.
FAQs
1. How do I know if a solenoid valve coil is bad?
You can use a multimeter to test the resistance of the solenoid coil. If the reading shows infinite resistance, the coil is likely open and needs replacement.
2. Why is my solenoid valve making a buzzing noise?
A buzzing noise usually indicates that the solenoid coil is energized but not operating correctly. This can be due to improper voltage or a defective plunger.
3. Can I test a solenoid valve without a multimeter?
Yes, you can manually test some solenoid valves by using the manual override feature to see if the valve opens or closes without electricity.
4. What is the proper voltage for a solenoid valve?
The proper voltage is specified on the solenoid coil label and is typically either 12V, 24V, or 120V, depending on the application. Using the wrong voltage can damage the valve.
Conclusion
Testing a solenoid valve is a critical skill for anyone maintaining fluid or gas systems, whether in automotive, HVAC, or industrial automation contexts. By understanding how to use a multimeter, identify mechanical issues, and ensure proper electrical supply, you can efficiently determine whether a solenoid valve is functioning properly or needs repair. This proactive maintenance approach will help minimize system downtimes and extend the service life of your solenoid valves.
For a variety of reliable solenoid valves and automation components, visit Qinggong Group for more options. Their extensive product lineup can cater to all your industrial and automation needs.
