How to Repair a Solenoid Valve
Introduction
Solenoid valves are commonly used in automated systems to control the flow of fluids or gases. Over time, these valves can malfunction due to dirt buildup, worn-out components, or electrical issues. Understanding how to repair a solenoid valve is crucial for maintaining efficiency in your systems, whether you are dealing with industrial machinery or simple irrigation systems. This guide will help you navigate through the repair process with ease, ensuring your valve functions optimally.
1. Identifying Common Solenoid Valve Issues
Before beginning any repair, it’s important to accurately identify the problem. Here are some of the most common issues found in solenoid valves:
Valve Not Opening or Closing: This may be due to a faulty solenoid coil, improper electrical supply, or a jammed plunger.
- Low Flow Rate: Caused by clogging of the inlet or outlet ports, restricting the fluid flow.
- Noisy Operation: A buzzing sound can indicate issues with the solenoid coil or a poorly fitted plunger.
Steps to Identify the Problem:
Check the Power Supply: Use a multimeter to ensure the correct voltage is reaching the solenoid coil.
- Inspect the Valve Internals: If power is fine, disassemble the valve and inspect for signs of debris or damage.
- Test the Solenoid Coil: You can measure the coil resistance to ensure it is within the expected range. Replace if faulty.
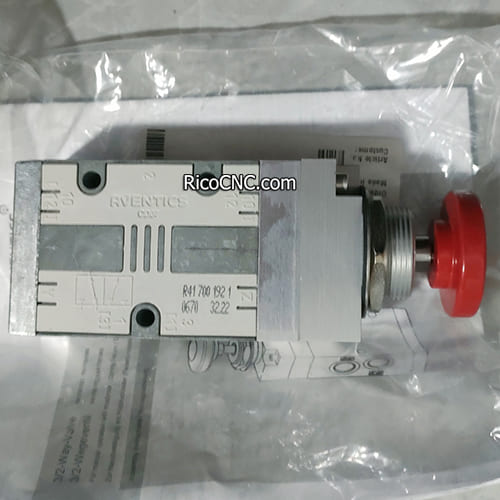
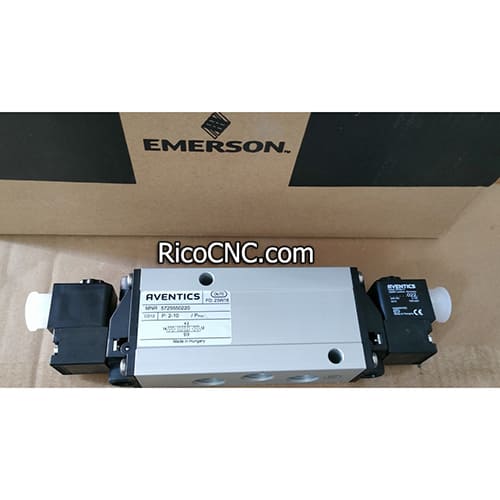
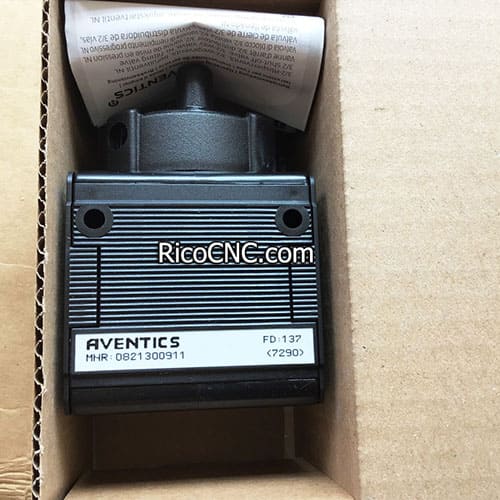
For more details on pneumatic components, take a look at the Aventics Solenoid Valve.
2. Safety Precautions Before Repairing
Safety is a key concern when handling solenoid valves. These devices often deal with pressurized fluids or gases, so taking proper safety precautions can prevent accidents.
Turn Off the Power: Always disconnect power from the solenoid coil before attempting to repair or replace components.
- Depressurize the System: Ensure there is no residual pressure in the system by bleeding off any remaining gas or liquid.
- Use Personal Protective Equipment (PPE): Safety glasses and gloves should be worn to protect against unexpected releases of fluid or debris.
Tip: Always work in a well-ventilated area to avoid exposure to hazardous gases.
3. Disassembling the Solenoid Valve
Disassembling the solenoid valve is a critical step for troubleshooting and repair. Most solenoid valves have a few basic components: the coil, plunger, spring, and diaphragm (for certain types).
Steps to Disassemble:
Remove the Coil: Slide the coil off the valve body, usually by loosening a retaining nut or clip.
- Unscrew the Valve Cover: This exposes the internal components like the plunger and spring.
- Check for Wear: Look for damaged O-rings, worn plungers, or any signs of corrosion.
Tools Needed:
Screwdriver
- Adjustable wrench
- Needle-nose pliers
For specific solenoid valve disassembly instructions, check out the Pneumatic Solenoid Valve CKD 24VDC.
4. Cleaning the Valve Components
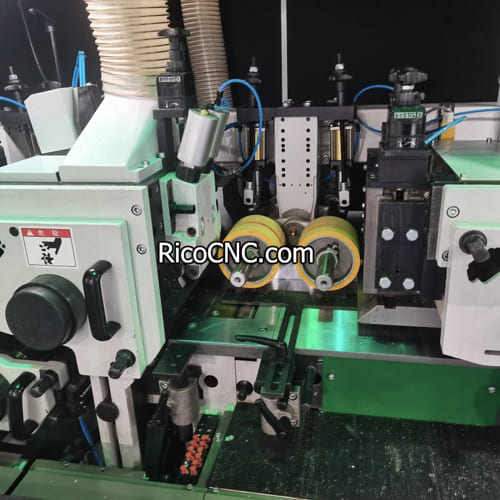
One of the most common causes of solenoid valve failure is dirt or debris clogging the valve components. Thorough cleaning can often restore the valve to good working order.
Steps to Clean:
Remove Debris: Use a small brush or compressed air to clean the inside of the valve body.
- Inspect the Plunger: Ensure that the plunger moves freely within its chamber. Dirt buildup here can prevent the valve from opening or closing.
- Clean the Ports: Use a soft cloth to wipe down the inlet and outlet ports.
Cleaning Tip: Avoid using harsh chemicals that could degrade the valve materials. Opt for gentle cleaners suitable for metal or plastic components.
5. Replacing the Solenoid Coil
If the solenoid coil has burned out or is no longer functioning, replacing it is necessary to restore valve operation. Replacing the solenoid coil is a relatively simple task that can be done without specialized tools.
Steps for Replacement:
Identify the Correct Coil: Ensure that you have the correct voltage and power rating for your system. Using the wrong coil can damage the valve or prevent it from functioning properly.
- Remove the Damaged Coil: Loosen any retaining screws and slide the coil off the valve body.
- Install the New Coil: Position the new coil in place, ensuring it is securely fastened.
Important: If your solenoid valve model is obsolete, you may need to find a compatible coil or upgrade to a newer valve. Refer to Yaskawa Rotary Servo Motors for servo motor-related components that may complement your automation system.
6. Checking and Replacing O-Rings
O-rings are crucial in maintaining a proper seal within the solenoid valve, preventing fluid or gas leaks. Over time, O-rings can become brittle or worn, necessitating their replacement.
Steps to Replace O-Rings:
Remove the Old O-Ring: Use a small pick or needle-nose pliers to carefully remove the O-ring.
- Clean the Seat: Ensure the O-ring seat is free of dirt or debris before installing the new O-ring.
- Install the New O-Ring: Lubricate the new O-ring slightly for easier fitting and install it in the designated slot.
7. Reassembling and Testing the Valve
Once the solenoid valve has been cleaned, repaired, or had components replaced, it's time to reassemble and test.
Reassembling Steps:
Reattach the Plunger and Spring: Place the plunger back into its chamber, ensuring it moves freely.
- Secure the Valve Cover: Screw the cover back on, making sure it is tight to prevent leaks.
- Install the Coil: Slide the solenoid coil back in place and secure it.
Testing:
Check for Leaks: Slowly turn the fluid supply back on and inspect for leaks.
- Power Test: Energize the coil and observe the valve operation. Listen for smooth action without buzzing or sticking.
8. Troubleshooting Electrical Issues
Electrical issues are often at the root of solenoid valve problems. If the coil fails to energize, you will need to ensure that:
Voltage Supply is Correct: Verify that the voltage supplied matches the coil rating.
- Wiring is Intact: Check for any signs of fraying or disconnected wires.
- Coil Resistance: Use a multimeter to check coil resistance; it should match the manufacturer’s specifications. Any significant deviation indicates a faulty coil.
9. When to Replace the Entire Solenoid Valve
In some cases, repairing a solenoid valve may not be feasible, especially if the valve body is cracked or heavily corroded. You should consider replacing the entire valve if:
Valve Body Damage: Cracks or other physical damages cannot be repaired effectively.
- Frequent Malfunctions: If the valve has been repeatedly repaired but issues persist, replacement is often more cost-effective.
- Obsolete Parts: When parts are no longer available, replacing the valve with a more modern equivalent can provide better efficiency and reliability.
FAQs
1. How do I know if a solenoid valve needs replacement?
If the valve has repeated issues even after repairs, or if there is damage to the body, it may need replacement.
2. Can a solenoid valve work without a solenoid coil?
No, the coil is essential for creating the magnetic field that moves the plunger, allowing the valve to open or close.
3. Why is my solenoid valve making a buzzing noise?
A buzzing noise typically indicates that the coil is not being energized properly, or the plunger is not moving freely. Check for proper voltage and clean the plunger.
4. How often should O-rings in a solenoid valve be replaced?
The frequency depends on the application, but generally, O-rings should be inspected annually and replaced if there are signs of wear or brittleness.
Conclusion
Repairing a solenoid valve is an effective way to extend its service life and maintain the efficiency of your automation systems. By following these detailed steps—identifying issues, disassembling, cleaning
